So this is my first tutorial so I hope that I put it together in a way that is helpful. I love making lone Star Quilts. I make them in all sizes, with extra diamonds, in solids and prints. I also make Lone Stars right out of my scrap bins. Those made from scrap strips come out the best because I have to work with the fabric that I have and I end up putting them together differently than if I had more fabric to choose from! I have several strip bundles that I sort for Lone Stars from the scrap bins!
The first thing you need to do is decide how big you want your Star to be. The size of the star itself is determined by two things: 1) The size of the strips you cut, and the number of diamonds in the star. For this tutorial, I cut 2 inch strips and I chose 11 colors. This Star will end up being about 43-44 inches point to point. The number of colors or fabrics has to be an odd number to create the diamond.

When you are preparing your strips you will need one strip of the first, two strips of the second, three strips of the third, four strips of the fourth, five strips of the fifth fabric, six of the center fabric and then decrease down by one from there so five strips of the seventh, four strips of the eighth fabric, three of the ninth, two of the tenth, and one of the eleventh. Here you can see that I have my strips laid out. Remember that the center fabric has the most strips but is not the center of the star. The center fabric (the one with the most strips) actually ends up to be the largest ring. The color/fabric with just one strip will be the point of your diamond making either the center or the points of the star, depending on how you piece it. That took me awhile to remember where the fabrics actually get placed.

Then the next thing that you will do is create six piles of strips starting the first through the sixth, then the second through the seventh, then the third through the eighth, then the fourth through the ninth, the fifth through the tenth and lastly the sixth through the eleventh.
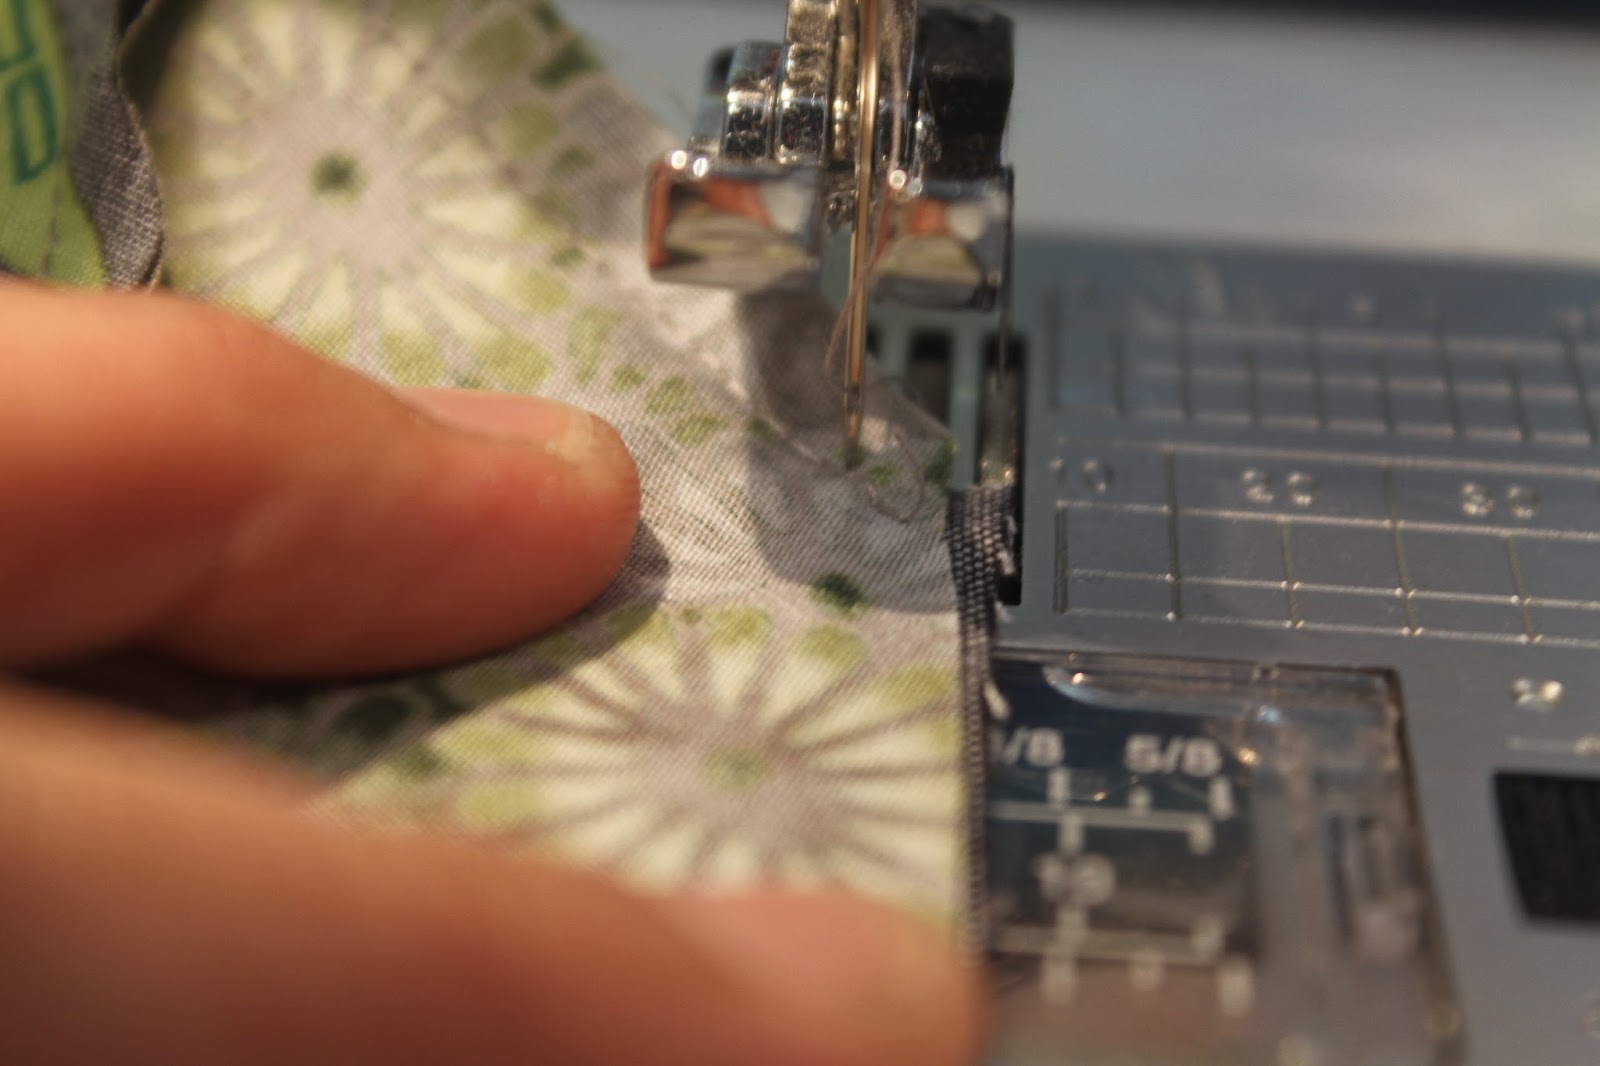
Sew them together with 1/4" seam allowance.
Make sure to start the next strip slightly below the last one so it is staggered because you will be cutting at 45 degrees.
So you will end up with six strip sets. Mine looked like this.
Press each one very well because you don't get to press again until after you put the background fabric in the corners of the Star because of how delicate the bias cuts are on the diamonds. When you press, alternate directions on each set. So press towards the first fabric then the next press towards the last fabric and alternate that way so that your seams sit nicely.
After you press these strips very well, it is time to cut again. You are going to cut at a 45 degree angle at two inch widths. You need to have at least eight because we are making an eight pointed star. When you cut you'll see that you will have more than eight. I just cut them all and save the extras for a scrappy star or binding later.
Then after you have cut all six strip sets at least into eight 2 inch 45 degree strips, then you are ready to pull one of each six strips to create your diamond.
When you do sew the strips together to make the diamonds, you will have to be careful to allow for the 1/4 inch that it needs to line up the seams. So its hard to see in the pic but there is a quarter inch between the seams.
It is much easier to do when the allowance happens to be pressed towards the seam you're matching up but that only happens some of the time.
So here is what I ended up with- eight beautiful diamonds ready to complete a lone Star!
My diamonds stacked at the machine ready to get assembled.
When you put the diamonds together, you line up the seams exactly to each other.
I will add more in a bit to finish explaining how I do the Y seams and cut the background squares and triangles. You can do this same process with 5, 7, 9, 11, or 13 (or any odd number) fabrics/colors. You can also cut your strips to be different widths that will change the size of the diamonds. But then when you go to cut the strip sets, you will cut them at 45 degrees at whatever width you chose. You can also email me at chonahomegrown@gmail.com if you have any questions.
Here is the completed top
And getting quilted
Close up of the quilting. It was the first time that I did an all-over pattern on a Star.
The finished Quilt! It ended up measuring 45 inch square

Just to show you how you can size your star- here's another I finished today that measures 43 1/2 inch square
And here is a pic with the two together so that you can see how the size is determined by the number and width of the diamonds. The grey star is 11 fabrics at 2 inch widths and the red and blue star is 7 fabrics cut at 2 1/2 inch widths but they are similar in size.
For another example of sizing- this star was done with 7 fabrics and cut at 1 1/2 inch widths and ended up being a 23 in square