So this is my first tutorial so I hope that I put it together in a way that is helpful. I love making lone Star Quilts. I make them in all sizes, with extra diamonds, in solids and prints. I also make Lone Stars right out of my scrap bins. Those made from scrap strips come out the best because I have to work with the fabric that I have and I end up putting them together differently than if I had more fabric to choose from! I have several strip bundles that I sort for Lone Stars from the scrap bins!
The first thing you need to do is decide how big you want your Star to be. The size of the star itself is determined by two things: 1) The size of the strips you cut, and the number of diamonds in the star. For this tutorial, I cut 2 inch strips and I chose 11 colors. This Star will end up being about 43-44 inches point to point. The number of colors or fabrics has to be an odd number to create the diamond.

When you are preparing your strips you will need one strip of the first, two strips of the second, three strips of the third, four strips of the fourth, five strips of the fifth fabric, six of the center fabric and then decrease down by one from there so five strips of the seventh, four strips of the eighth fabric, three of the ninth, two of the tenth, and one of the eleventh. Here you can see that I have my strips laid out. Remember that the center fabric has the most strips but is not the center of the star. The center fabric (the one with the most strips) actually ends up to be the largest ring. The color/fabric with just one strip will be the point of your diamond making either the center or the points of the star, depending on how you piece it. That took me awhile to remember where the fabrics actually get placed.

Then the next thing that you will do is create six piles of strips starting the first through the sixth, then the second through the seventh, then the third through the eighth, then the fourth through the ninth, the fifth through the tenth and lastly the sixth through the eleventh.
Sew them together with 1/4" seam allowance.
Make sure to start the next strip slightly below the last one so it is staggered because you will be cutting at 45 degrees.
So you will end up with six strip sets. Mine looked like this.
Press each one very well because you don't get to press again until after you put the background fabric in the corners of the Star because of how delicate the bias cuts are on the diamonds. When you press, alternate directions on each set. So press towards the first fabric then the next press towards the last fabric and alternate that way so that your seams sit nicely.
After you press these strips very well, it is time to cut again. You are going to cut at a 45 degree angle at two inch widths. You need to have at least eight because we are making an eight pointed star. When you cut you'll see that you will have more than eight. I just cut them all and save the extras for a scrappy star or binding later.
Then after you have cut all six strip sets at least into eight 2 inch 45 degree strips, then you are ready to pull one of each six strips to create your diamond.
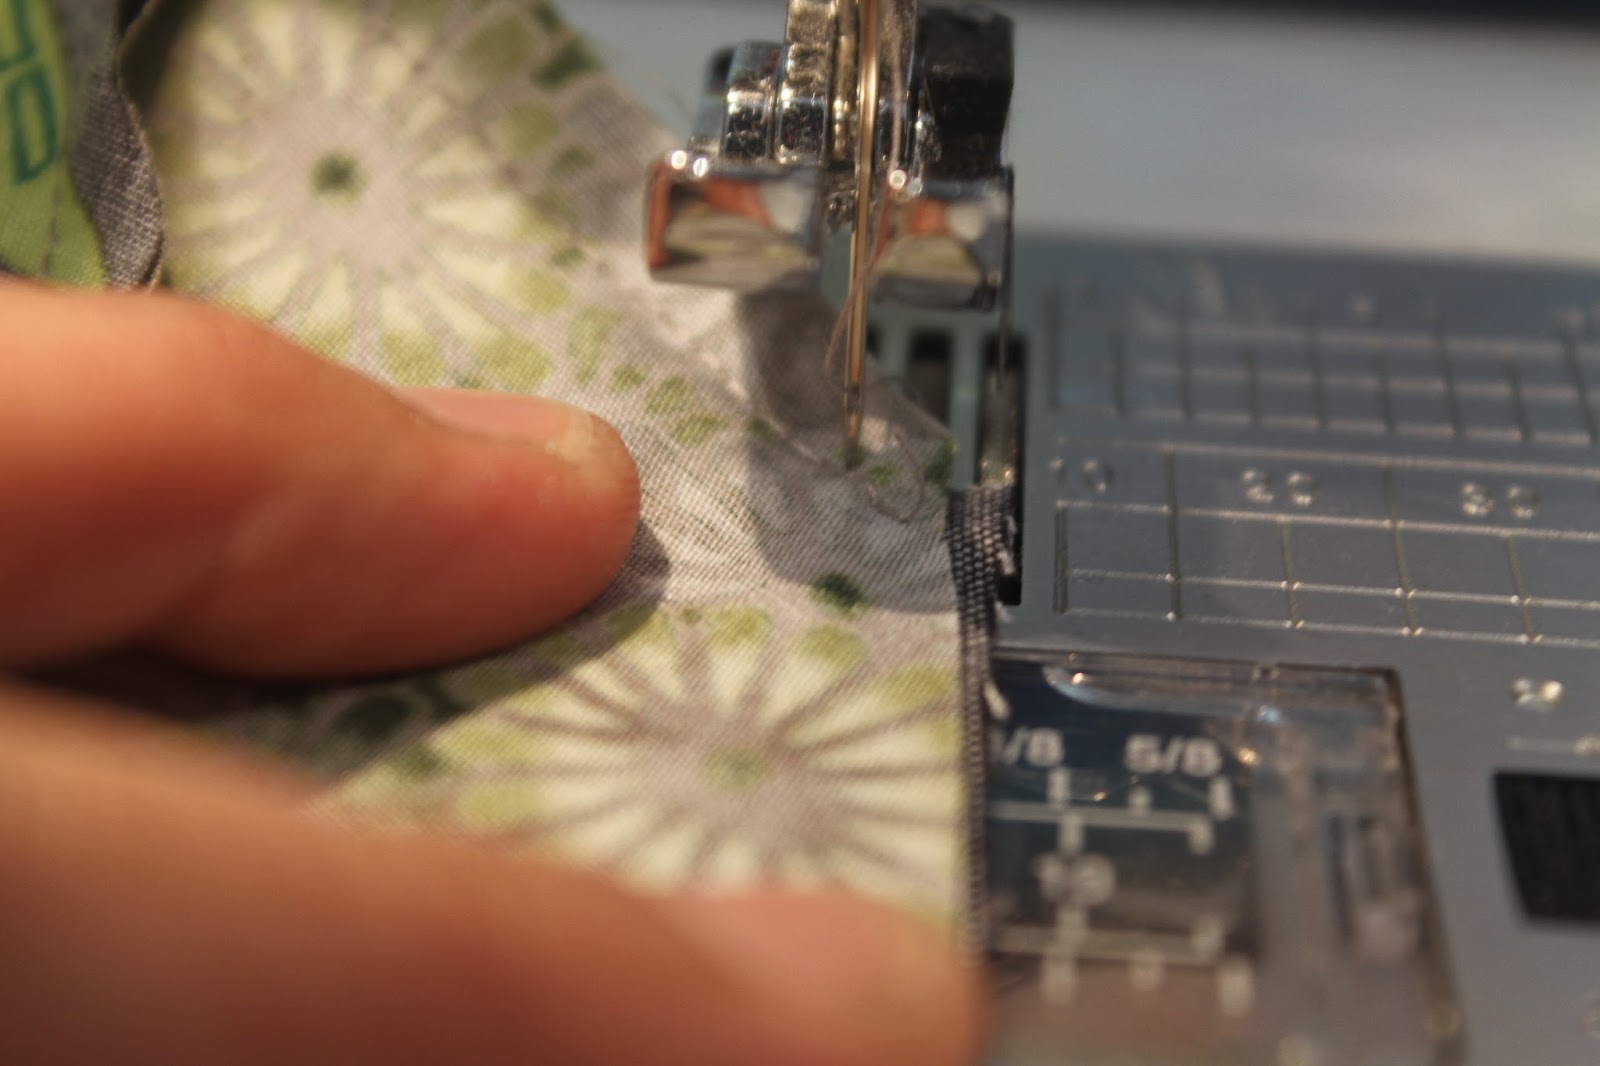
When you do sew the strips together to make the diamonds, you will have to be careful to allow for the 1/4 inch that it needs to line up the seams. So its hard to see in the pic but there is a quarter inch between the seams.
It is much easier to do when the allowance happens to be pressed towards the seam you're matching up but that only happens some of the time.
So here is what I ended up with- eight beautiful diamonds ready to complete a lone Star!
My diamonds stacked at the machine ready to get assembled.
When you put the diamonds together, you line up the seams exactly to each other.
I will add more in a bit to finish explaining how I do the Y seams and cut the background squares and triangles. You can do this same process with 5, 7, 9, 11, or 13 (or any odd number) fabrics/colors. You can also cut your strips to be different widths that will change the size of the diamonds. But then when you go to cut the strip sets, you will cut them at 45 degrees at whatever width you chose. You can also email me at chonahomegrown@gmail.com if you have any questions.
Here is the completed top
And getting quilted
Close up of the quilting. It was the first time that I did an all-over pattern on a Star.
The finished Quilt! It ended up measuring 45 inch square

Just to show you how you can size your star- here's another I finished today that measures 43 1/2 inch square
And here is a pic with the two together so that you can see how the size is determined by the number and width of the diamonds. The grey star is 11 fabrics at 2 inch widths and the red and blue star is 7 fabrics cut at 2 1/2 inch widths but they are similar in size.
For another example of sizing- this star was done with 7 fabrics and cut at 1 1/2 inch widths and ended up being a 23 in square


I've never tried a Lone Star, but your tutorial makes it look do-able. I'll have to put this on my bucket list of quilts to make!
ReplyDeleteYes. Keep it on your list till you do it. Its worth it!
DeleteVery clear tutorial with all those pictures. Make me think I can sew a lonely start too! I will pin it, just in case! Your star is beautiful!
ReplyDeleteThanks for the feedback. I am relieved to hear that it reads clearly. A tutorial is harder to do that I thought! Thanks for checking it out.
DeleteAwesome! I'm actually looking for another quilting project and since I live in the "lone star state" maybe I should give this a whirl!
ReplyDeleteHello Neighbor! I'm in NM one state over! Yes- You SHOULd do a lone star! When the time is right! Thanks for checking my tutorial out!
Deletewow! neat tutorial. I've never done a Lone Star before, but you tutorial definitely makes it seem within reach!
ReplyDeleteThank you so much for sharing at Needle and Thread Thursday!
:) Kelly @ My Quilt Infatuation
I'm so glad that you liked it since its my first! They are definitely possible and your work is beautiful so no doubt it is possible! Thanks for stopping by!
DeleteThanks for the tutorial!! Love the Lonestar pattern.
ReplyDeleteYour welcome Allison!
DeleteThanks for the tutorial!
ReplyDeleteI want do it one day.
I'm Catalan, and speak bad english, but understand perfectly.
Thanks Agnes!
DeleteBeautiful! And thanks for the tutorial. I started a Lone Star years ago. And never finished...
ReplyDeleteDig it out sister!
DeleteThanks for the tutorial! I am just curious, how long does it typically take you to complete a bed-sized (queen) quilt? I promised a friend I'd make one for her wedding, which is in October. I am worried I won't be able to complete it on time.
ReplyDeleteGosh I am so sorry that it has taken forever to respond! I have been off line for a while on this blog but am back. A bed size quilt would take probably two weeks to make for me but that is also working on other projects as well. The piecing goes quickly because of the strips but the quilting takes time. Good luck!
DeleteGreat tutorial and exciting color choices. Do you have a tutorial on sizing the triangles and square pieces?
ReplyDeleteO don't yet but will probably soon because I have a few folks in my community looking to kern as well. Thanks!
DeleteI would love to make a baby one what would be the size for that and how much fabric would I need with 4 different colors to make the star
ReplyDeleteHow do you know what size to cut the squares and triangles for the inserts in between the star's pieces?
ReplyDeletehow do I make the Y seams and cut the background squares and triangles, I couldn't find instructions anywhere here.
ReplyDeleteWOW great job writing this up! I am getting started in making Star Quilts for Native Americans. I was wondering how you got the second example to radiate out the red color from the center instead of having a circle of main color as in the first example.
ReplyDeleteHey there from NM, rural area south of Albuquerque! Question: I loved the chart you made for the 9 piece diamond, could you possibly do one for the 7 or 11 on plain white paper, no shading? I love to use colored pencils to approximate my fabric so I can see it ahead of time. Please, please! And thank you
ReplyDeleteWOW a write up I can actually follow along & not get overwhelmed. I absolutely love how easy you make this look. I am so crossing my fingers that you still maintain this blog & are well.
ReplyDeleteExcellent instructions! The only issue with yours and everyone I have read is the length of strips that are used,
ReplyDeleteThank you for a great set of instructions!